Guest Blog Post by Katie Nardi, The Restored Board
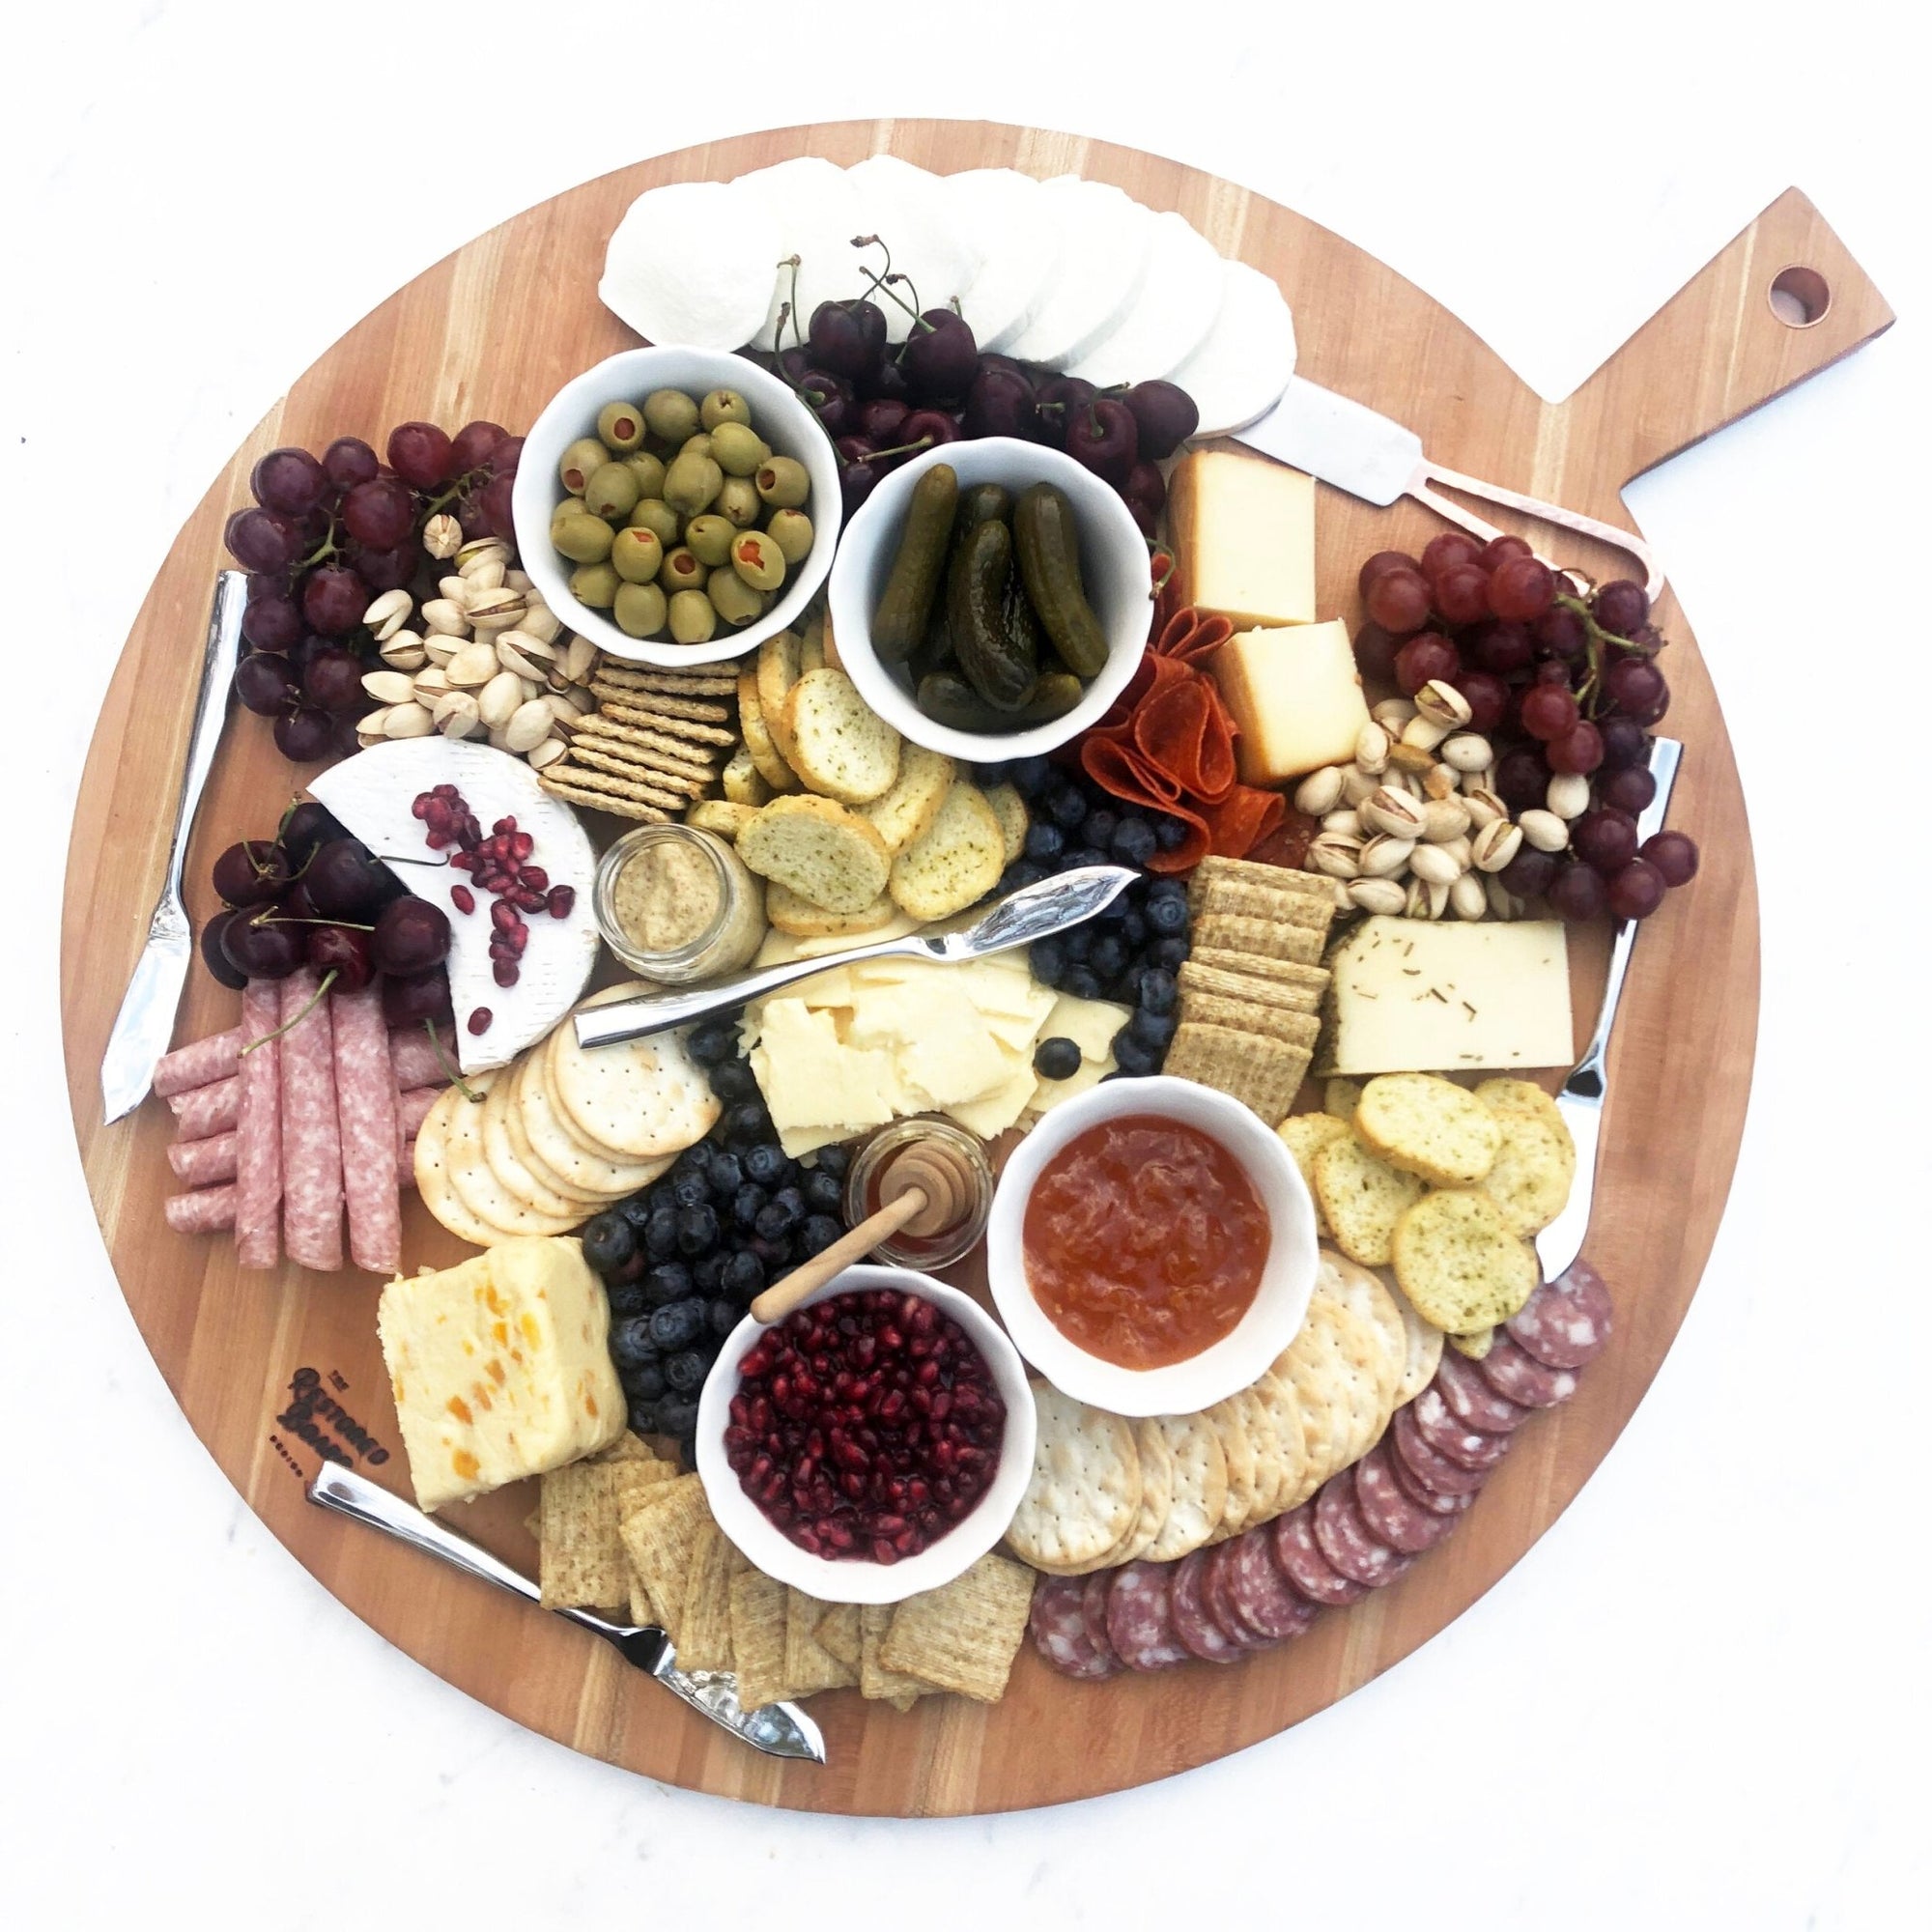
Sure, charcuterie boards can look a little intimidating but when you break it down to the basics, it’s really not that hard. We may not be hosting large parties yet, but here's a simple "recipe" for building a great charcuterie board.
Follow these seven easy steps to construct your next grazing board. We probably break all kinds of rules, if there are rules to this…but it’s all about what you like. Switch out the ingredients for what you like and enjoy!
GATHER YOUR INGREDIENTS!
Cheeses
Brie
Coastal Cheddar
Apricot Wenslydale
Rosemary Parmesan
Fresh Mozzarella
Goat Cheese (not pictured, but always a favorite)
Meats
Summer Sausage
Salami
Pepperoni (we generally use prosciutto, but our store was out)
Cracker Varieties
Triscuits™
Crostini
Carr Crackers
Fruits
Blueberries
Cherries
Grapes
The Extras
Pomegranate Seeds
Apricot Preserves
Pickles
Olives
Honey
Deli Mustard
Pistachios
CONSTRUCT YOUR BOARD
Step 1 Use small containers or ramekins to anchor your board and fill them with loose items, condiments and items that may cause any sogginess (such as mustard, honey, pickles, olives and preserves). These will help to build your board and support other food items, so best to start here.
Step 2 Add your cheeses. Spread them out around the board so they’re easily accessible. Feel free to get creative with your placement and arrangements.
Step 3 Add meats. Same thing, you’ll want to spread them out across the board. This will also encourage different snacking combinations.
Step 4 Place large fruits such as grape bunches.
Step 5 Add crackers in rows, semi-circles around the ramekins or use more organic-shaped crackers to fill in empty spaces.
Step 6 Add fillers. This is where I add blueberries, cherries and pistachios to fill in any empty spaces, still placing them around the board in multiple spots.
Step 7 Add your finishing touches. Garnishes (fresh rosemary, thyme & basil are good ones, but we were out) and serving pieces will round out your board and give it a finished look.
Did you know Essentially Charleston offers a Build a Basket/Box service for customers who would like to customize their gifts? Let's get creative together!
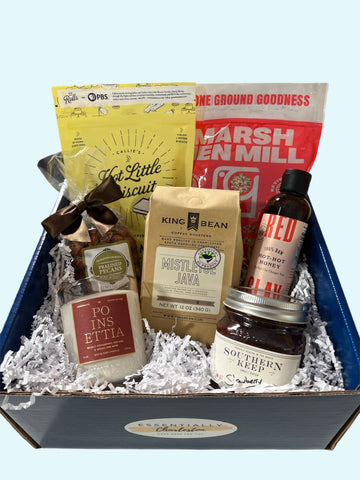
Good Morning, Charleston! Wake up and smell the coffee and the biscuits and the grits...morning never tasted so good!
Holy City Holiday Breakfast Gift Box A gift box full of delicious Lowcountry breakfast goodies! All gifts are safely packed in custom blue boxes with Essentially Charleston branding + your gift note. We can ship your gifts you can pick them up at our Mt. Pleasant workshop.
Gifting has never been easier
Perfect if you're short on time or are unable to deliver your gift yourself. Enter your message and select when to send it.


 Show your clients, colleagues, and board members how essential they are to your company when you choose a meaningful gift!